Blink your boards with Embedded Swift and Zephyr - Part 1
4 minute read.
Introduction
Embedded Swift was introduced at WWDC24. In their demo, they showed a few simple examples at a high level. They didn’t discuss the details of a flexible architecture and the related tech stack to support a variety of MCUs and more broadly a board with an MCU, sensors, and other hardware being controlled. Because we want to be able to control a wide variety of MCUs and the plethora of devices that can be connected to them such as temperature sensors, wind gauges, etc. One way to gain this abstraction is to use the Zephyr Real Time OS (RTOS). In this article series, we’re going to get Blinky, the “Hello World” of the embedded world, working on multiple boards using Zephyr.
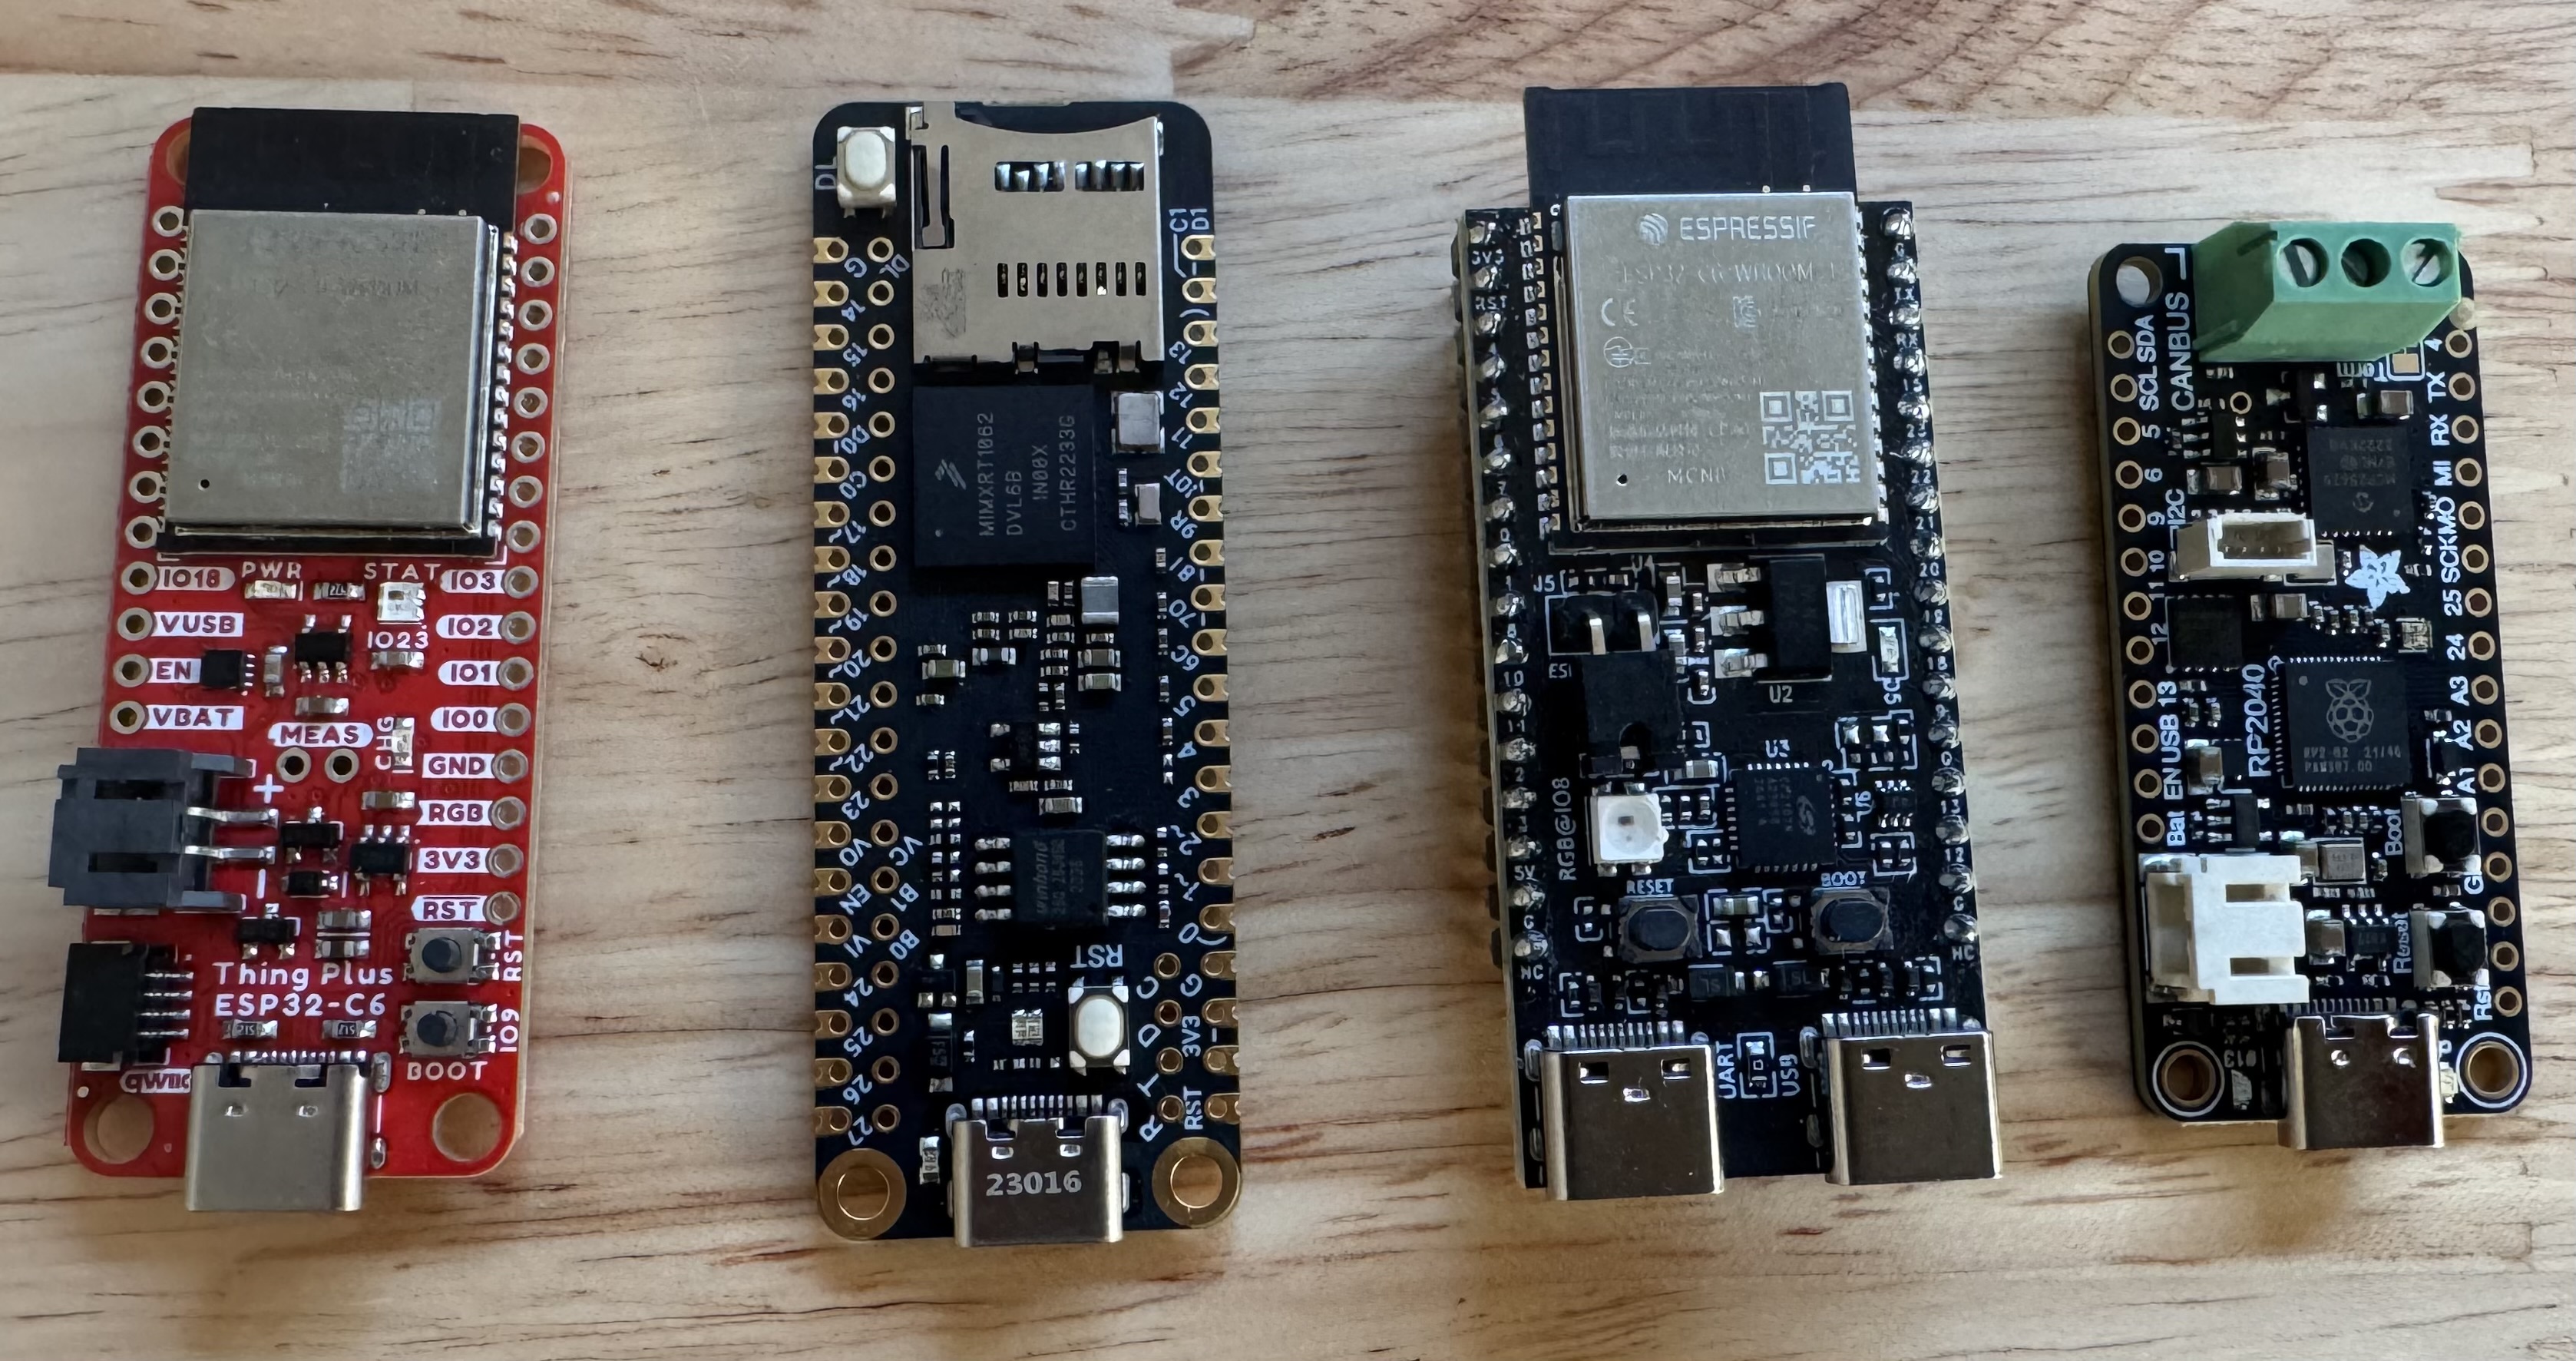
| Board | Instruction Set Architecture (ISA) |
|---|---|
| Espressif ESP32-C-DevKitC-1 v1.2 | RISC V |
| Sparkfun Things Plus (Feather) ESP32-C6-Wroom-1 | RISC V |
| Adafruit RP2040 CAN Bus Feather | ARM Cortex-M0+ |
| MadMachine SwiftIO Micro | ARM Cortex-M7 |
Blinky is an app that does nothing more than blink the onboard LED on and off again. What we’ll learn from this is:
- How to install Zephyr, compile a sample app, and flash it to a supported board.
- How to setup the swift toolchain to build embedded apps and write our first Blinky App in Swift.
- How to configure a different board in Zephyr, build and flash the same Swift code to new boards.
When we are done, we will have a Blinky app written in Swift that can be targeted to several different boards. This will give us the technical foundation necessary to pursue a wide variety of embedded projects in Embedded Swift.
In Part 1, we’ll focus on installing Zephyr, verifying our installation by building the Zephyr C based sample app against a well-defined board, flash our app to the board, and see that it works.
Zephyr Setup
Create your project
mkdir zephyrproject
Create a new virtual environment:
python3 -m venv ./zephyrproject/.venv
Activate venv
cd zephyrproject
source .venv/bin/activate
[!NOTE] Remember to activate the Python virtual environment every time you start working.
Install west
pip install west
Get the Zephyr source code
west init
west update
Export a Zephyr CMake package. This allows CMake to automatically load boilerplate code required for building Zephyr applications.
west zephyr-export
The Zephyr west extension command, west packages can be used to install Python dependencies.
west packages pip --install
Install Zephyr SDK
cd zephyr
west sdk install
Using the command options, you can specify the SDK installation destination and which architecture of toolchains to install. See
west sdk install –help``` for details.
Build the Blinky Sample
Mad Machine’s SwiftIO board name is mm_swiftio
In the future, if you’re using a different board and need to know the west name,
west boardscan be used to obtain a list of all boards Zephyr supports, or you can look it up online Zephyr Boards Lookup
cd zephyrproject/zephyr
west build -p always -b mm_swiftio samples/basic/blinky
The -p always option forces a pristine build, and is recommended for new users. Users may also use the -p auto option, which wil
Flash the Sample
Connect your SwiftIO board via USB-C. Then flash the sample using west flash:
west flash
You may need to install additional host tools required by your board. The west flash command will print an error if any required depencies
Deactivate the Python Virtual Environment
When you are done working on your project, be sure to deactivate your Python venv
deactivate
Wrapping Up
In Part 1, we installed Zephyr, built the sample Blinky app, flashed it to our SwiftIO Micro board, and verified that our Zephyr environment is working. Zephyr offers an abstraction around different boards. In Part 2, we’ll continue with our simple Blinky App on the SwiftIO Micro board, re-write it in Embedded Swift, and flash/run the Swift version.
References
Zephyr Project Getting Started Guide
Copyright (c) 2025 Craig Miller. All Rights Reserved.